Pages

Saturday, September 17, 2011

Jelly Roll Bargello Tutorial

Want to make this quilt? I have finally gotten around to writing a tutorial for it. 

These are notes to the specific quilt I made. Adding or deleting jelly roll strips will alter the size of your quilt. You can use my quilt as a guide to create yours. You may use the pattern for personal use (i.e. to make a quilt for yourself  or as a gift) but please do not use this pattern to make quilts to sell.
One jelly roll makes 27.5 inches of the bargello. I used 2 jelly rolls, to make the width 54 inches, finished. If you want to make a wider quilt, use more jelly rolls, or add borders.

My quilt finished as a twin; 54 x 88 inches
The size of this quilt will depend on how many jelly strips you use. I only used 36 of 40, so before borders my quilt was 72 inches long. If you use all 40 strips of a typical jelly roll, your quilt will be 80 inches long. If you use all the strips you may not need to add borders, if you use less, you may need to add more fabric. Your length will be # of jelly strips X 2. Add borders to meet the size you want.


Fabric requirements
2 Jelly rolls - don't trim off selvages
Fabric for borders - 1 yard - cut 3 strips 8.5 inches wide. Make 2 pieces that are 8.5 x 54.5 inches long. I also cut 4 strips, 2.5 inches wide to be used for binding.
Yardage for backing - 6 yards (this is generous - I just pieced big scrap pieces together until it was big enough)
Batting - 58 x 92 inches
Binding - I used the 4 leftover jelly roll strips, along with strips cut from the border fabric.


Step 1: Picking your fabric order.

This might be the hardest part for some. Most jelly rolls are already sorted from lightest to darkest, it really is finding what you like best. For me, I picked 5 or 6 strips of 2 different colours that I thought looked good together, then added 1 or 2 strips to go in between them for contrast.


In this set, there are 2 blue strips between the green and purple strips. This set has 13 strips.

In this set, 1 green strip is between the pink and blue strips. There are 11 strips in this set. 

Step 2: Piecing the strip sets
Instead of piecing all 36 strips together and then try to cut them for the bargello strips, I made 3 different sets that were then cut and joined together to make the bargello strips. This just makes it easier to handle. 

For each set, I first sewed them in pairs - selvages at the same end.
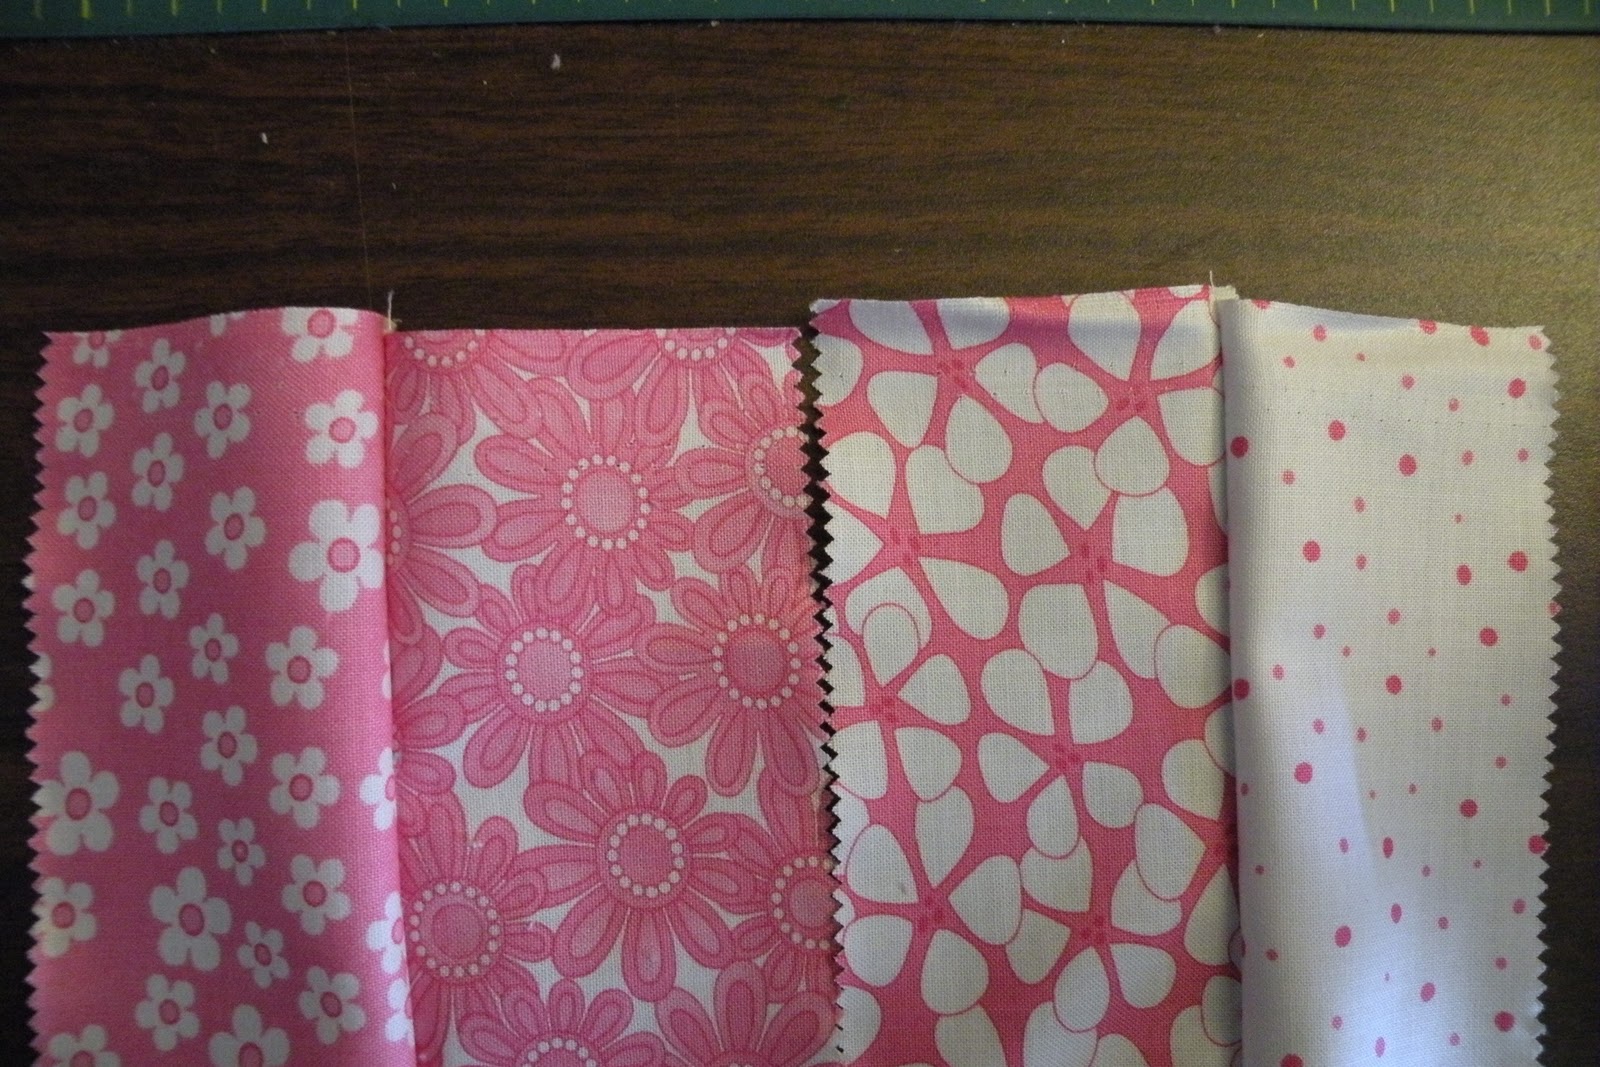
Then sew the pairs together, starting at the lengthwise grain edge. Starting from opposite edges will help prevent the fabric from being stretched during the piecing process.

When you're done, you will have a set with all the selvages at one end. 

Lay your sets down. This is your last chance to change the order (without creating major frustration for yourself). If you are happy with your sets, it's time to iron and cut them. Press the seams how you like - open might be the best way. I pressed each set a little differently and open seams went together better.


Step 3 - Cutting the Bargello Strips
Now is the time to trim off your selvages to give yourself a straight edge. 
From each set cut: 4 strips - 2.5 inches wide
10 strips - 2 inches wide
6 strips - 1.5 inches long
You will have about 3 inches leftover in case you cut one wrong and need to cut another.

Put your strips into groups based on size and set (2.5 at the top, 2 in the middle and 1.5 at the bottom)

Doing one size at a time, you are going to sew the strips in their correct order to make one long strip. Then sew the 2 ends together to make a ring. Above are the 1.5 strips lined up waiting to be sewn together.

I chained pieced my strips, causing the middle strip to make a loop between the 1st and 3rd strips.

This is what you should have after piecing. Keep all loops of the same width together.

Step 4: Piecing the Bargello strips
This is where you really need to pay attention, or you will be using your seam ripper. Trust me. To make it easy, I made the first strip start with the first fabric. I number the top fabric as #1 and the bottom fabric as #36. 

Click to enlarge.


Using the chart above as a guide, sew the strips together, ripping the seam of each loop between the top and the bottom fabrics. The top number tells you which fabric will be at the top of your strip, while the bottom number, tells you which fabric is at the bottom. The middle number tells you the width of the strip to use. 

Here is the first 2 strips sewn together with the next 4 waiting to be pieced. Take your time to make sure the pattern is going the right way.

First bargello section all sewn together (just realized this picture was taken upside down - oops). The pattern is set up so you can add as many sections as you want and the bargello pattern will continue.

Here are both sets done and sewn together - and the picture taken from the right way.
Add borders if you want. Quilt as desired. Bind and enjoy.

Finished quilt.

Pieced binding.

Enjoy my first tutorial. Thanks to all the other bloggers who have offered free patterns and tutorials. I really appreciate them.
 Please let me know of any errors. I hope to make a printer friendly, pdf version in the future and would appreciate any comments on anything that is hard to understand. 


Friday, September 16, 2011

Friday Updates

Here's a little of what I have been doing the past few days. I completed 3 more squares for charity.

I quilted the pillow for my nephew and stuffed it. It will be mailed off tomorrow.

Knitted up 2 washcloths as I noticed one of mine was falling apart.

My father informed me today that a family friend and member of his church has been diagnosed with cancer. I tried to think of something I could make for her and got out this layer cake and decided on a layout. It should be an easy, quick finish that will hopefully provide some warmth and comfort over the difficult  months ahead.

This fabric may be used as either a border or part of the backing. This fabric came from my aunt who sent along a bag of fabric when my parents came to visit in June. I realized I haven't shared any of it here... until now.

There are a few yards of this fabric. Definitely doesn't feel like 100% cotton so not sure yet what I am going to use it for.

I thought this was nice fish fabric until I unfolded it and...

... discovered there were 4 different patterns on one yard. Pretty cool.

I'm not sure what I should think of this fabric. At least it isn't scary clowns (found some of that in my moms stash). 

Last but certainly not least, tonight is Friday Night Sew-In. I have so many projects on the go right now I'm not sure what I will get completed. Fingers crossed I get something done.

Monday, September 12, 2011

A Knitty Weekend

Worked on some knitting projects this weekend.
On Sunday, in remembrance of September 11th and the National Day of Service, I only worked on charity projects. I completed 3 more squares for the Knit-a-Squillion challenge. It brings my total to 19. These squares will be mailed to South Africa and made into blankets for AIDS orphans. You can find more information here.

I started another pair of socks Friday evening. Not sure if these will be a gift or if I'll keep these ones for myself.


Saturday, September 10, 2011

Birthday presents

Another birthday season is upon us. It seems to come in spurts in our families, get a couple months off and then there are 5-6 within a month. Here's a little of what I've been working on.

Socks for mom and daughter. They are on their way and will hopefully arrive next week. Only a few weeks late.

My nephew turned 10 yesterday. I knew I wanted to do something with Super Mario Bros. but couldn't decide what or how. Finally got it all drafted and cut yesterday. The smallest squares are an inch, finishing at 1/2 inch.

Here it is all complete. I added some borders and hope to quilt it this weekend. The image I worked from is on the left. It was between this guy and the question box.  I see a Super Mario Bros. quilt in my future.

Finished these socks for a friend whose birthday is in a couple weeks. Going to make some other stuff to go along with it.

Close-up of the colours.

I have a niece with a November birthday. Started her gift last night so hopefully it will arrive on time.

Wednesday, September 7, 2011

It's Still August, right?

August UFO is done! It is the Avalon pattern from "Material Obsession". I had picked different fabrics but switched to Christmas fabrics when I was trying to decide what I was going to do with the quilt. This will be a gift - and I'm going to mail it early so they can enjoy the quilt before Christmas.

Free-motioned holly in the sashing/border.

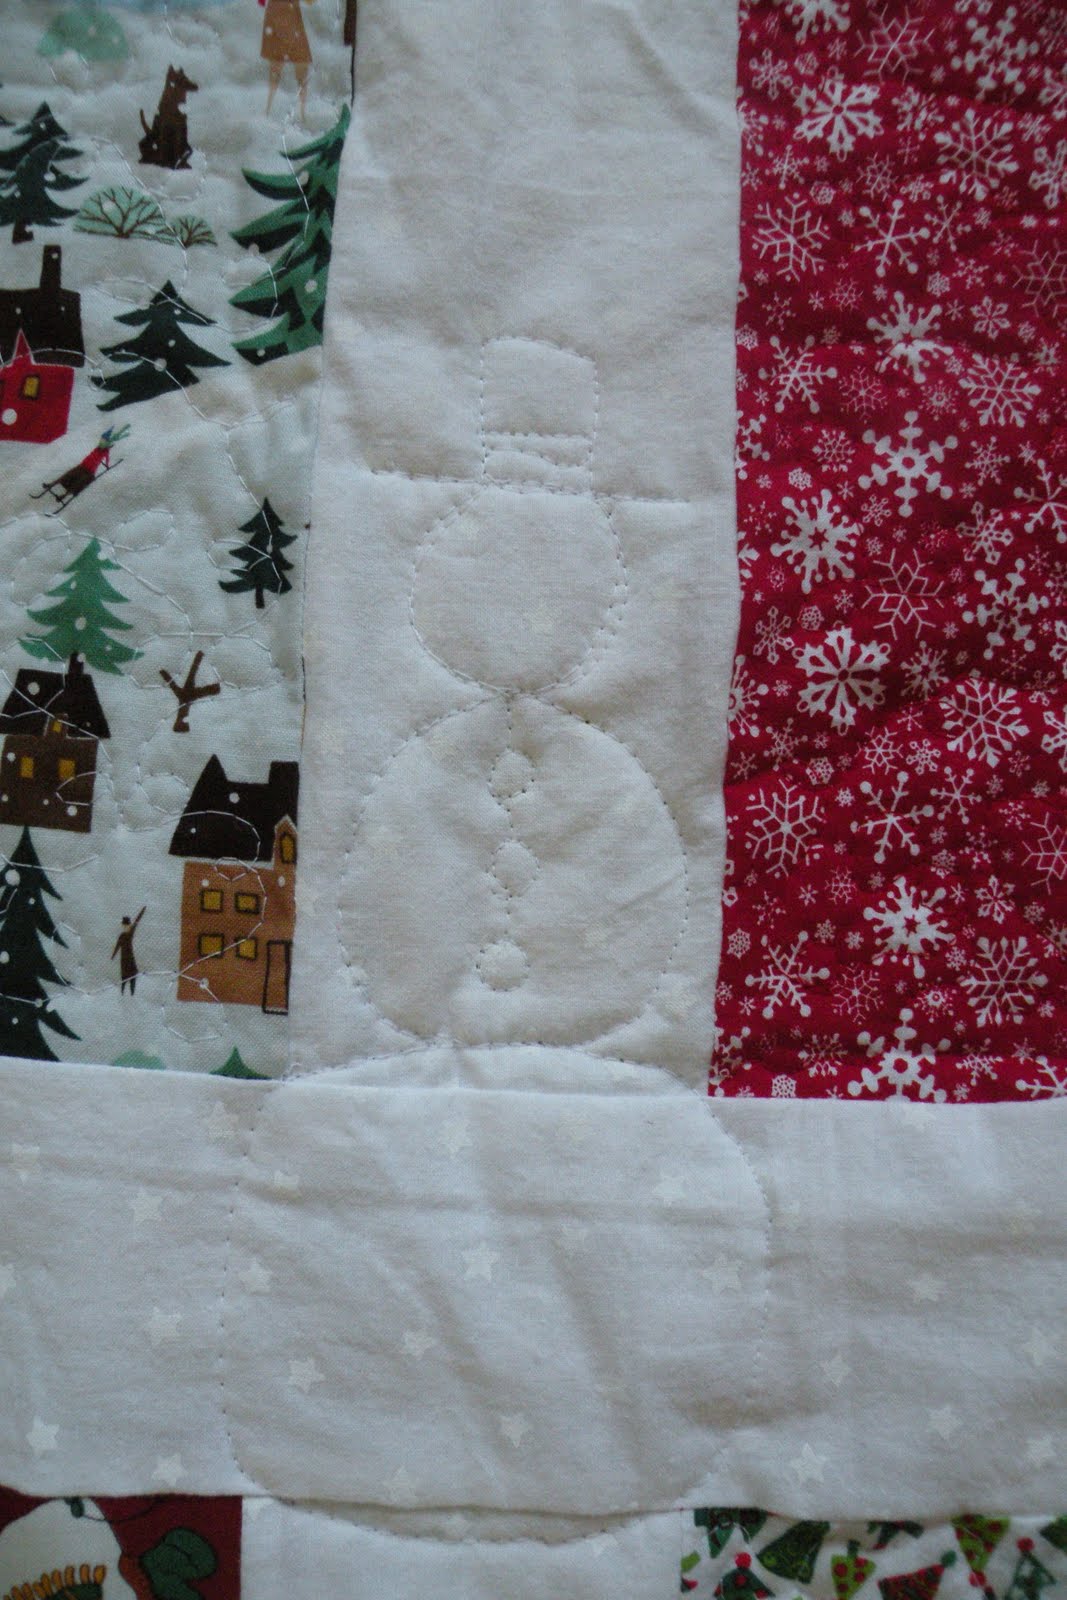
Wherever 4 blocks met, I free-motioned a snowman.

Corners also got some holly.

A lot of the blocks were stippled or similar free-motion filler. 

And my September UFO - finally pieced together, waiting to be quilted. These blocks are from a swap 2 years ago. I couldn't decide whether to add sashing or borders and finally decided it didn't need either.  

Friday, September 2, 2011

Quilt Distractions

My ironing board is full of distractions. New projects waiting to be started. 

I decided to join the quilt along hosted by Moose on the Porch Quilts. It doesn't start until later this month so you still have time to join.

Here are my fabrics. 16 fat quarters and about 3yards of yellow fabric. I am using some fabrics that I have saved and loved (some for years). I look forward to using them.

With both kids in school this year, I have had the living room to myself during the day. At the top is my September UFO, #11 - rainbow block swap. It was my one and only swap.  I've had them for a couple years and am finally going to finish it this month. I was auditioning border fabrics in the picture.

The project at the bottom  is my planning for my Billboard Quilt, using Oh, Fransson's Quilt Along instructions.  This is one of the distractions on my ironing board. I got out yellow, blue and green scraps to be used for the letters. Fabrics have been ironed and letters have been drawn, next week I hope to have the letters completed.

Back for the Avalon quilt was pieced earlier this week. The quilt is basted and I almost done quilting it. Just need to quilt the sashing.

Got the binding ready to go, too. This is my UFO for August. It feels good to be almost done it.

One finish this week... I finished all the log cabin blocks and decided on a layout. Here they are stacked in rows waiting to be pieced together.


Related Posts Plugin for WordPress, Blogger...